Openers · Toronto
Photo-Eye Sensor Alignment or Replacement
Someone backed the car in a little too far, a bin or a bicycle brushed the track, and since then the door starts to close and comes back up.
In plain words
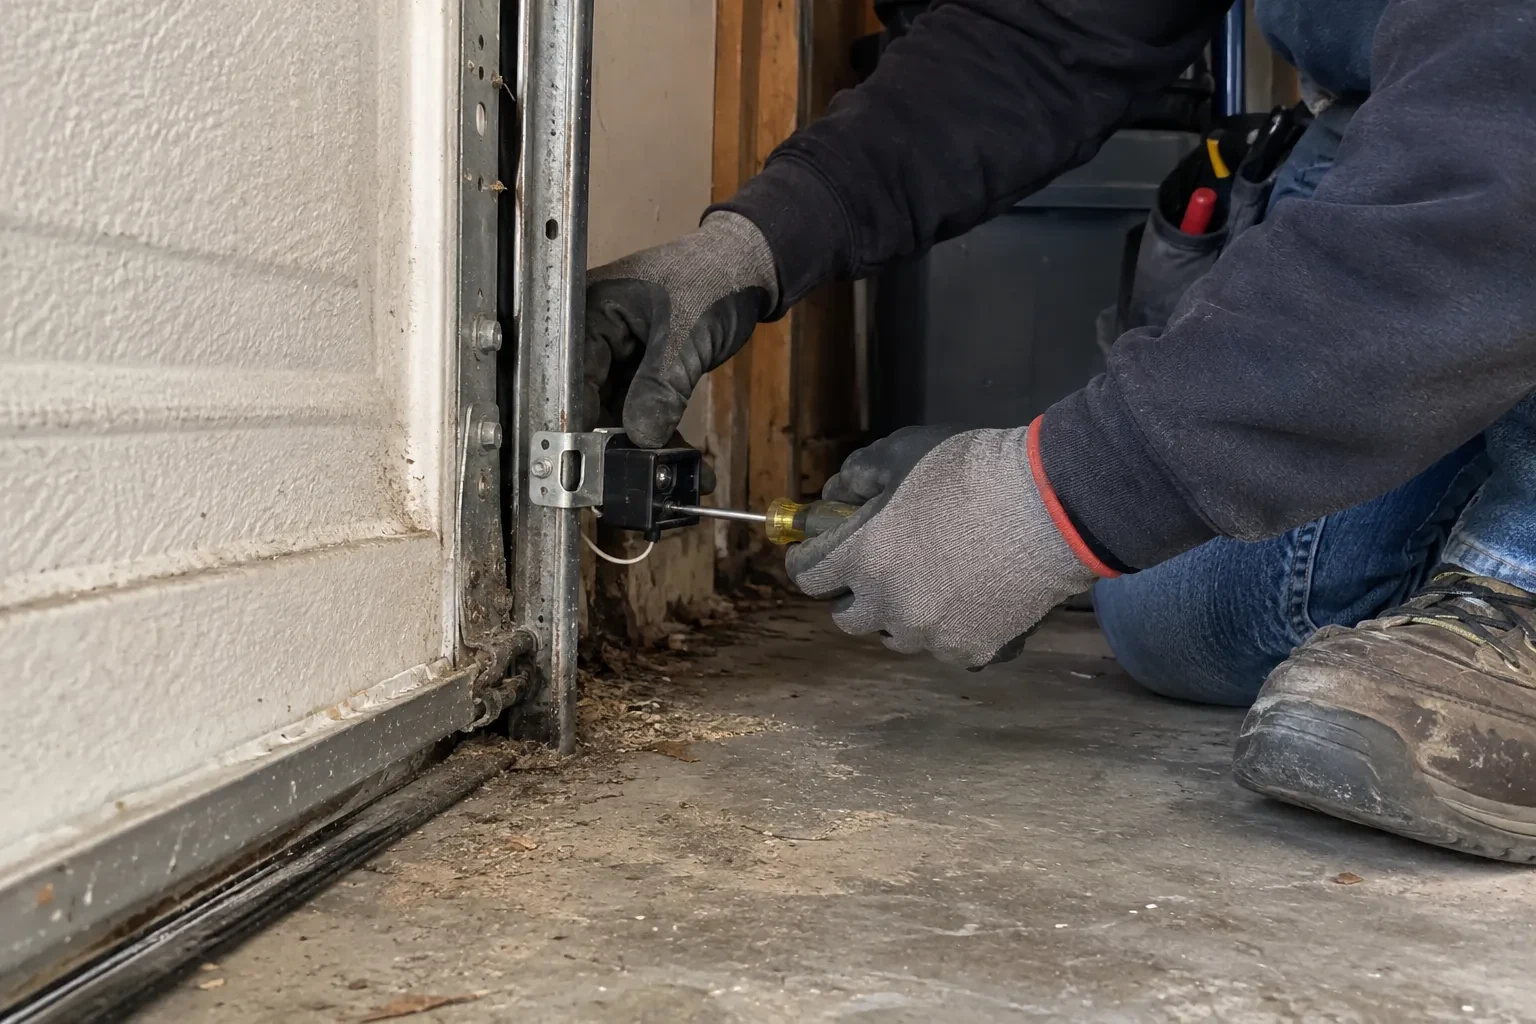
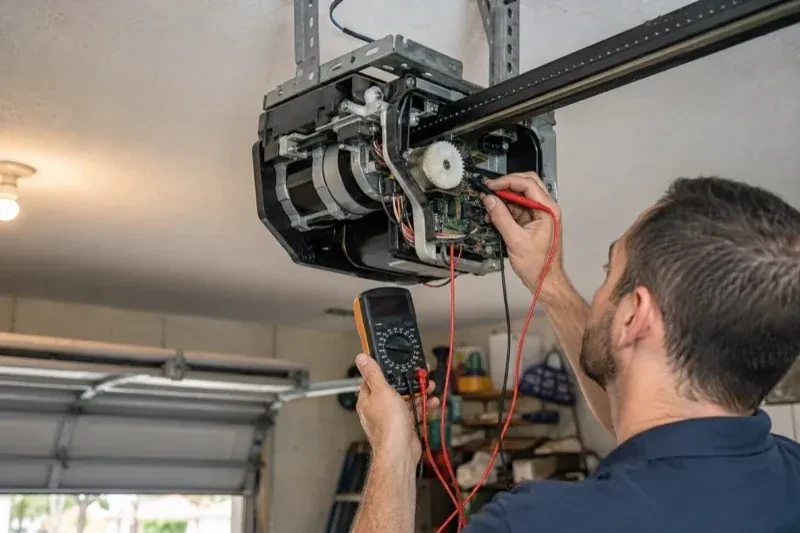
Your opener has been trying to tell you what is wrong. The head unit flashes its light a set number of times, or blinks a pattern on its up and down arrows, and each pattern maps to a cause on the maker's chart: beam blocked or misaligned, wire cut or disconnected, wires reversed or shorted. Down at the floor, many sensor pairs carry an indicator on each side, though some older pairs light only the receiver; check that model's chart, since a receiving light going out or flickering usually points to alignment. The technician reads both sets of signals first, which is why the repair usually takes one visit.
How the visit goesYou press the remote, the door drops a few centimetres, then climbs straight back to the top while the opener light blinks. Nothing is under the door. It has done this every evening this week.
Photo-Eye Sensor Alignment or Replacement
How the visit goes
Ruling out sun, frost and reflections
A sensor that misbehaves on a timetable is usually being blinded rather than broken. The technician notes which way the door faces, where the low sun reaches the floor in the morning and late afternoon, and whether a receiving lens looks into that light or into a reflection off a parked car, a white wall or fresh snow. Lenses are checked for frost, condensation and a film of salt, common in an unheated garage. A hand cupped over the receiving eye while the light is watched is a simple test: if the indicator settles when the eye is shaded, the fix is a side swap or a small hood rather than new parts.
Fitting a matched sensor pair
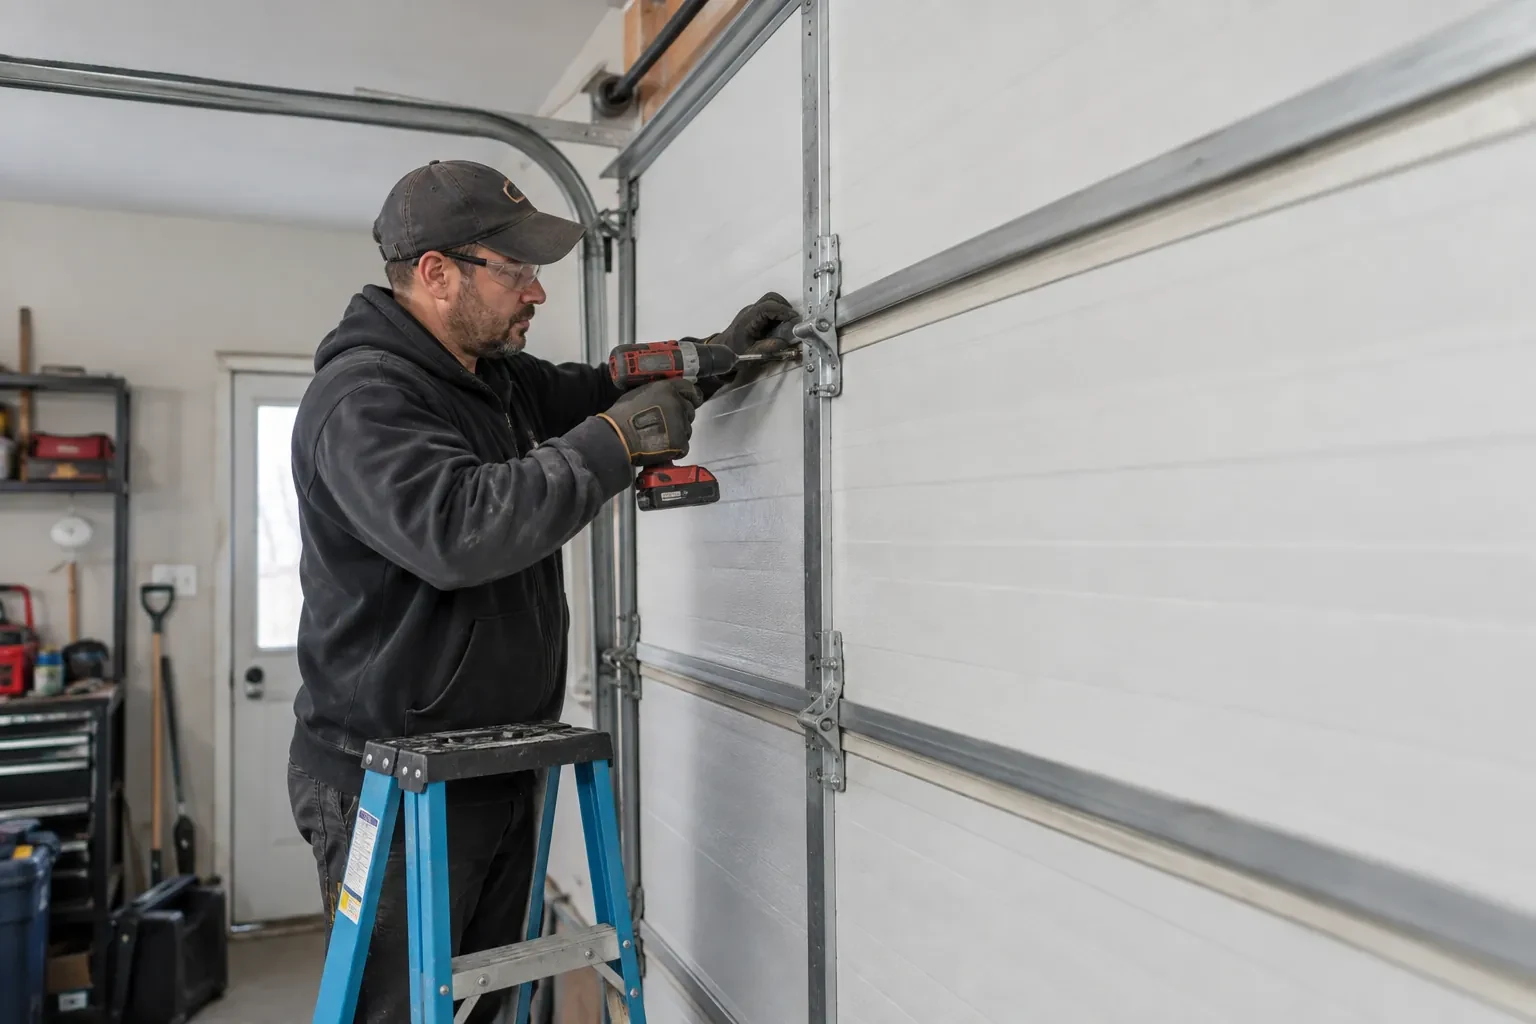
When a sensor has failed, the replacement is chosen for the opener rather than from a shelf of lookalikes. The technician confirms the make and generation from the head unit label, because sensors from one era are not always recognised by a board from another. The new sending and receiving sensors are mounted on the existing or new brackets at matched heights, wired with the connectors supplied, and brought up until both indicators glow steadily. Universal pairs exist for some operators and are used where they are documented to suit that model; where the opener is old enough that no compatible pair is made, the conversation moves to a modern operator.
A record of the work
You have a short written note of what was done: the opener make and model, what the diagnostic code and the sensor lights showed on arrival, whether the fault was alignment, wiring, sun or a worn sensor, what was replaced and where the new parts sit. It records the height the sensors were set at and that both tests were passed with you watching. That note is useful for a home inspection, for the next technician, and for you, because it shows what normal looks like on this door so a future change is easy to describe over the phone.
Photo-Eye Sensor Alignment or Replacement
In the van
Concrete anchors
Track-mount sensor brackets
Wire connectors
Two-conductor low-voltage wire
Wall or floor angle brackets
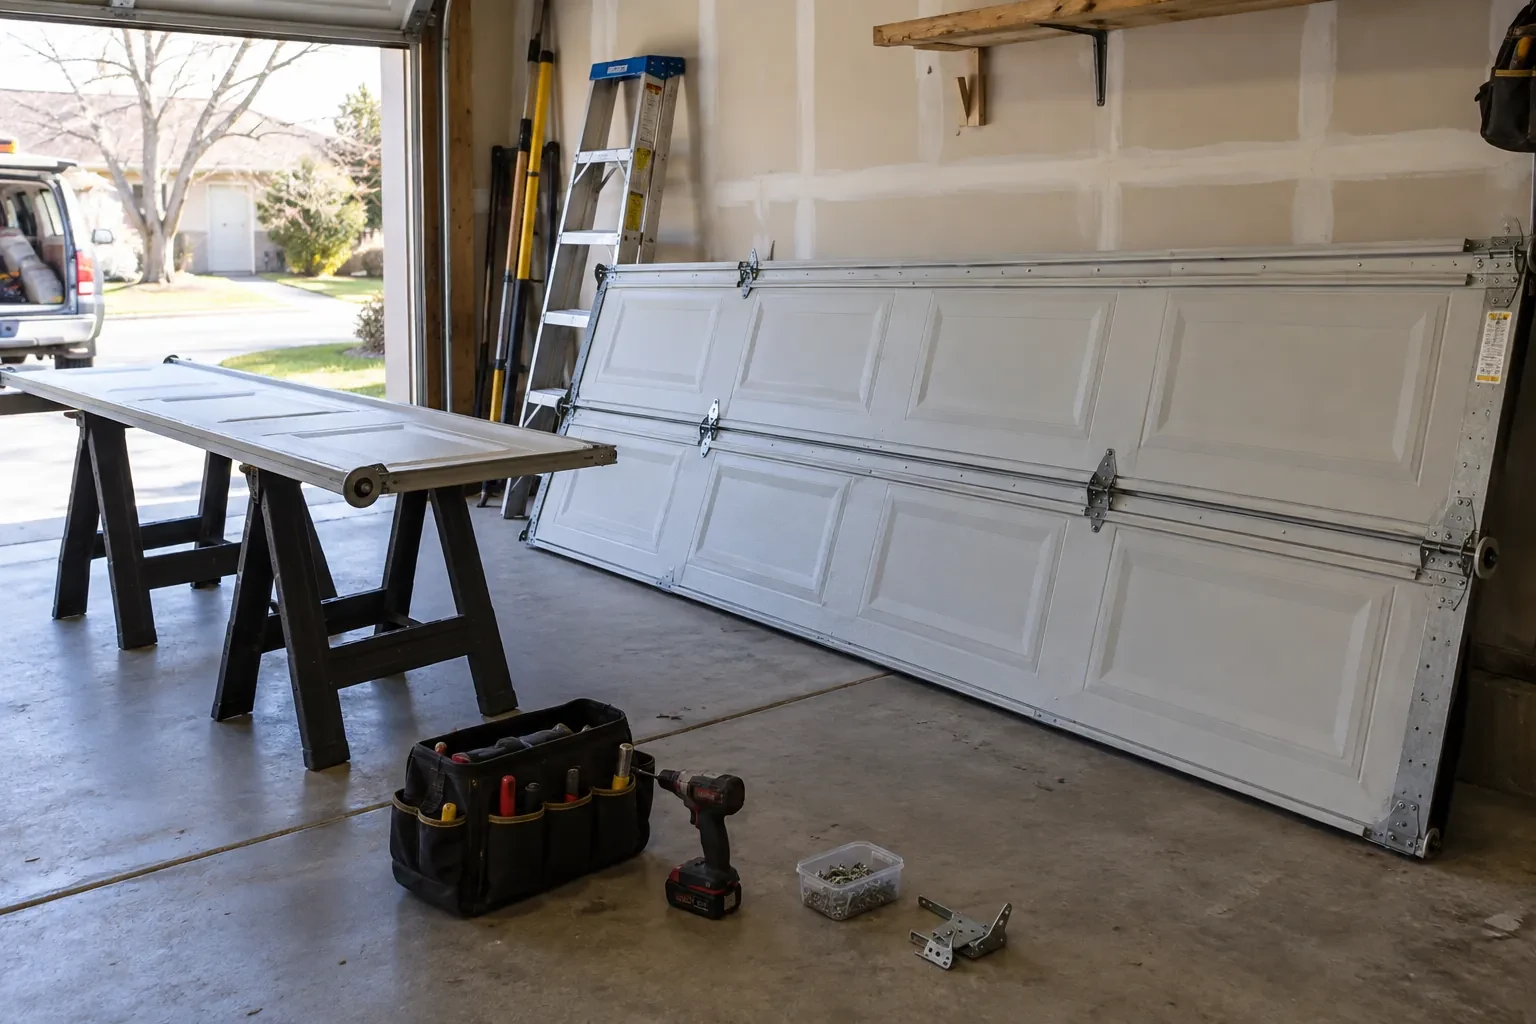
Photo-Eye Sensor Alignment or Replacement
What affects the quote
Winter conditions on the day
Snow and ice packed against the brackets, a frozen bottom seal or a frozen floor where anchors must go all add a little clearing and care before the sensor work itself can start.
Alignment or replacement
Cleaning, re-aiming and refastening the existing pair is the smaller job. Fitting a new matched sending and receiving pair is the larger one, and the diagnosis at the door decides which applies before the quote is settled.
An opener without a sensor circuit
Where the operator predates monitored sensors and cannot accept a pair, the quote changes shape into a modern operator with its own sensors, which is discussed as a separate decision rather than folded in.
What to have ready
- Does it happen at all hours, or mainly on bright mornings or late afternoons?
- What make and model is on the opener's label, and roughly how old is it?
- Can you send photographs of both sensors, the head unit label and the wall control?
Photo-Eye Sensor Alignment or Replacement: questions
QuestionsMy opener has no sensors at all. Can they be added?
If the opener predates the entrapment-protection standard, which operators have had to meet since the mid-1990s, its board has no sensor circuit and a pair cannot simply be wired in. The positive news is that a modern operator brings the whole package: matched sensors, force reversal and a monitored circuit. The technician confirms the model first, because some units do have the terminals and simply had their sensors removed.
How should I clean the lenses?
Gently, with a soft dry or lightly damp cloth, the way you would clean eyeglasses. Never scrape a lens or use a solvent, since a scratched or clouded lens scatters the beam. Wipe both sensors, then check that the receiving light comes on steadily. If a lens frosts on cold mornings, give it a few minutes to clear or dry it with a cloth. A quarterly wipe keeps dust, cobwebs and salt film from building up.
How high off the floor should the sensors sit?
Low. The industry checklist expects the beam no more than roughly 15 cm (6 in) up from the floor, so that a small child, a pet or a bicycle wheel breaks it. Both sensors are set at the same measured height and level with each other, since a difference of a couple of centimetres is enough to lose the beam. Within that rule the technician can raise them a little to keep them out of the strip where slush collects.
Related services
- Chain-Drive Opener RepairThe rail shakes when the door runs.
- Belt-Drive Opener RepairThe belt looks fine from a distance, but up close the rubber has cracked across the back in dozens of places and, in one spot, you can see the steel cords showing through.
- Garage Door Opener ReplacementDuring the ice storm the power was off for two days.